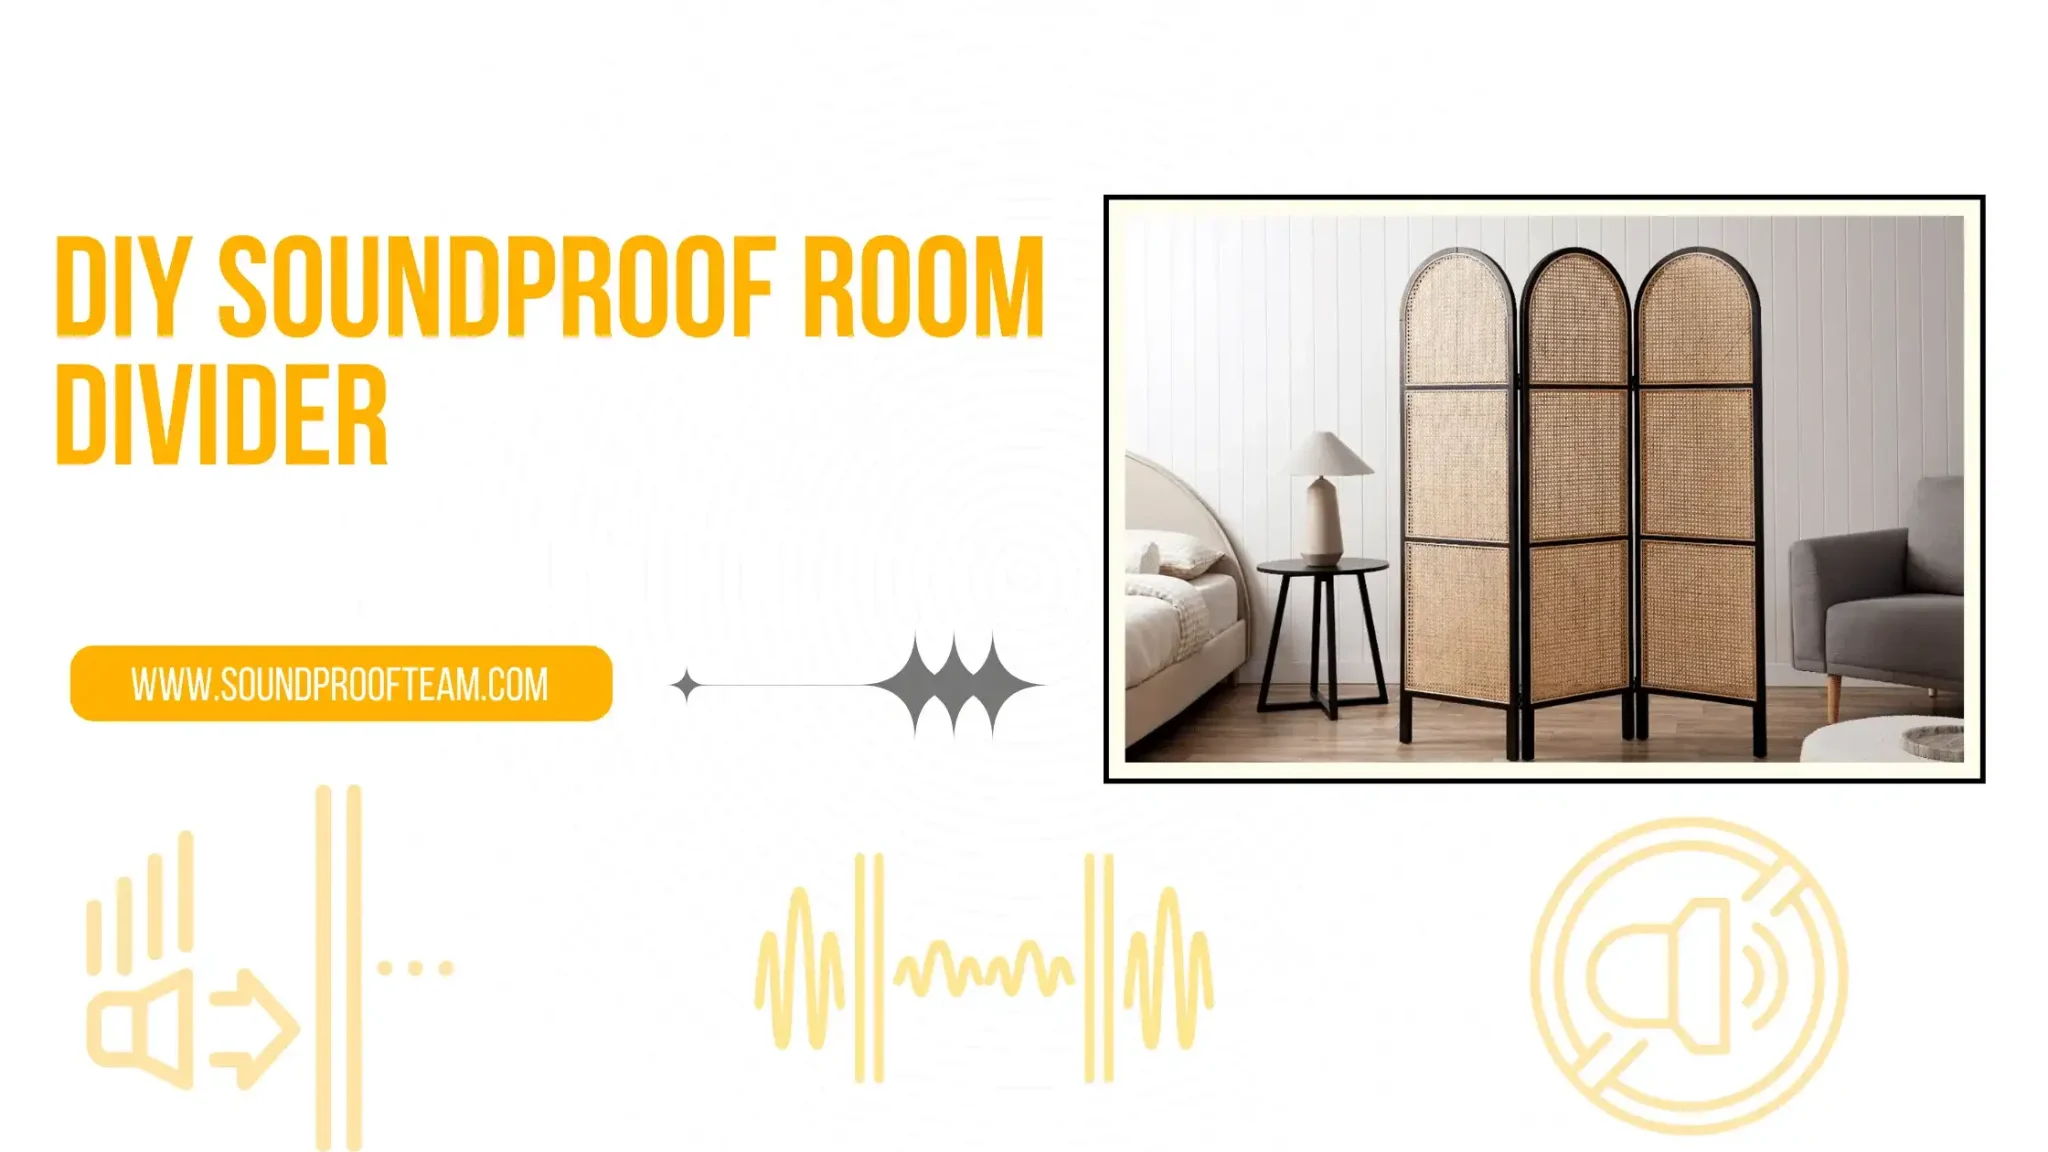
Looking for a way to divide your space without losing the private, soundproof feel, is at your fingertips. With some simple DIY skills and materials, you can create a custom-designed room divider that looks great and offers excellent acoustic insulation.
Whether it’s to block out noisy neighbors or just add style to your home décor, customize this resourceful project with a modern flair. Get creative with materials such as air-rich fabrics, acoustic foam panels, and decorative frames on top of being fashionable. These accessories will also keep the sound from traveling outside!
Creating a soundproof room divider involves implementing various techniques to minimize the transmission of sound waves through the partition. Here’s a detailed guide on different ways to make a soundproof room divider:
Step 1 – Gather Materials:
Start by collecting all the necessary materials for your DIY soundproof room divider project. You’ll need mass-loaded vinyl (MLV), acoustic foam panels, a wooden frame, screws, a drill, acoustic caulk, a saw, measuring tape, and a level.
Step 2 – Frame Construction:
Once you have all the materials, it’s time to start building the frame for your soundproof room divider. You’ll need a few basic tools such as a saw, hammer, and nails.
First, cut your wooden boards into pieces that are slightly larger than the desired size of your room divider. This will give you some extra space for adjustments later on. Assemble the frame by screwing the planks together at the corners. Double-check that the frame is square and level to ensure stability.
Step 3 – MLV Installation:
MLV (Loaded Vinyl) is one of the best materials for soundproofing and a great way to create your DIY soundproof room divider. MLV is incredibly lightweight, which makes it an ideal solution when you don’t have the ability or desire to add heavy foam or insulation products. You can easily install MLV yourself, even if you don’t have any construction experience.
When installing MLV, it is important to pay attention to the type of material and the instructions on the label. Some MLVs can be installed directly onto drywall or a wood frame, while other varieties require additional steps. Before beginning your installation, make sure to read all of the directions and check that you have the right materials.
Lay the frame flat with the open side facing up. Roll out the mass-loaded vinyl (MLV) over the frame, allowing excess material to hang over the edges. Trim the MLV to fit the frame’s dimensions. Secure the MLV to the frame using screws placed at regular intervals. Be sure to avoid gaps or overlaps in the MLV.
Step 4 – Foam Panel Placement:
Foam Panel Placement is a key step in creating a soundproof room divider. Foam panels are often used to absorb sound waves and reduce reverberation, making it easier to separate two different spaces.
Turn the frame over so that the MLV-covered side is facing down. Position the acoustic foam panels onto the exposed wooden surface from the top. Use adhesive designed for foam panels or screws to attach the foam securely. Work your way down the frame, aligning the panels evenly.
Step 5 – Double Layer Drywall (Optional):
For added soundproofing, you can attach a layer of drywall to both sides of the frame. Apply Green Glue damping compound in a zigzag pattern onto one side of the frame. Press the drywall sheet onto the frame, ensuring good adhesive contact. Screw the drywall to the frame, spacing screws every 12 inches around the perimeter.
Step 6 – Insulation (Optional):
If you want to enhance sound absorption, consider adding fiberglass insulation within the frame. Cut the insulation to size and insert it between the wooden frame studs. Make sure it fits snugly without compressing the insulation too much.
Step 7 – Sealing and Caulking:
Once the frame and insulation are in place, it’s time to seal and caulk any seams or gaps. This is an important step in soundproofing, as it helps minimize any air leakage that can let noise through.
Begin by sealing the edges of your divider panels with foam weather-stripping tape. Make sure to cover all the gaps between the panel frames and the wall, as well as any gaps between each panel. The goal is to have a continuous seal along the top, bottom, and sides of your divider panels.
Next, caulk any gap or hole in the frame. This will help create an airtight seal that blocks out sound from coming in or out.
Step 8 – Mounting and Decoupling:
Choose a location for your soundproof room divider and ensure its level using a spirit level. If possible, use resilient channels or isolation clips to hang the divider. These decoupling techniques prevent sound vibrations from directly traveling through the wall or floor.
Step 9 – Soundproof Door (Optional):
If your divider features a door, attach a solid core door to the frame. Apply weatherstripping around the door’s perimeter to create an airtight seal. Install a door sweep at the bottom to prevent sound leakage through the gap.
Step 10 – Final Touches:
Thoroughly inspect the completed soundproof room divider for any loose components, uneven surfaces, or incomplete caulking. Make any necessary adjustments to ensure the divider is well-constructed and ready to provide effective soundproofing.
By following these detailed steps, you’ll be able to create a DIY soundproof room divider that effectively reduces noise transmission and enhances privacy in your space. Remember that attention to detail and the use of high-quality materials are key factors in achieving optimal soundproofing results.
Conclusion:
Building a soundproof room divider can be incredibly rewarding. Not only does it give you the privacy that many of us crave, but it also gives you an excuse to get creative and dive into a project that will improve your home’s acoustic comfort. With some basic materials, like acoustic foam and wood panels, you can create a display of absorbing and reducing noise that suits any home style.


